-For guidance on using the integration within Schoology, please see the Schoology LTI 1.3 Overview article.
-For general information and FAQs about LTI integration, please see this article.
Manual Registration
- Log in to your Schoology installation as an administrator.
- Navigate to 'Grid Icon' -> 'App Center'
-
Then choose 'Organization Apps' or 'My developer Apps' depending on your intention.

-
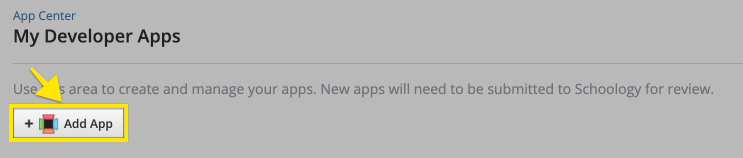
On the next page, click 'Add App'
- Fill out the selections using the below information:
-
App Name:
Infobase Platform -
Description:
Infobase’s new, integrated platform provides a streamlined and intuitive experience for accessing your digital collections. This platform focuses on improving usability and content delivery, making it easier for all of your users to navigate, search, and engage with high quality learning materials. -
App Logo:
https://assets.infobase.com/icons/infobase.svg -
Deep Linking:
CHECKED -
Assignments and Grade Services:
CHECKED -
Names and Roles Services:
CHECKED -
JWKS URL:
https://lti.infobase.com/keys -
Domain/URL:
https://lti.infobase.com/ -
Public key type:
Keyset URL -
OIDC Login Init URL:
https://lti.infobase.com/login -
Redirect URLs:
https://lti.infobase.com/
-
App Name:
- Back in the list of apps, find your app and click the 'Install LTI 1.3 App' Button. In the resulting dialogs:
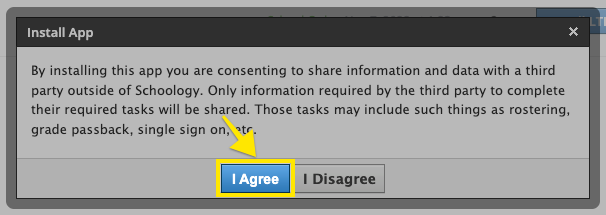
- Click 'I Agree'
- Click 'Continue'

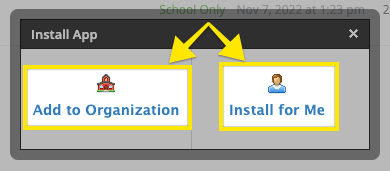
- Choose where to install the app (i.e. 'Add to Organization' or 'Install for Me')
- You may be asked to choose where to make the app available. i.e. which courses/users should have access to the app.
- Click 'I Agree'
- Back on the App Center list of apps, find your app and click 'Options' -> 'API Info'. In the resulting dialog, look for the 'Client ID'.
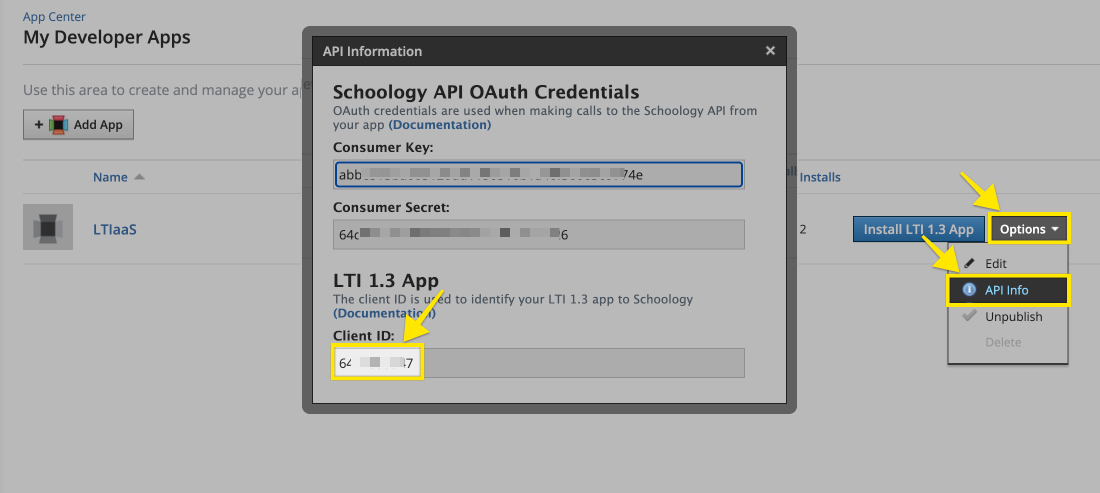
- Email your Client ID and the domain (URL) of your LMS to productsupport@infobase.com who will complete the connection. Please mention that you used the manual registration process. Support will confirm when the connection has been finalized.